Monday, 31 March 2014

Dressmaking- Part 2

I have carried on making the dress by putting a small dart into the bodice, below the ribbon design. This made the bodice look neater and more uniform.


I then placed darts in the neckline of the bodice. This was because in the pattern pleats were supposed to be in the neckline, however, I decided I didn't want them in the dress, so I took it in to fit properly. 


I repeated this in the layer of material I will have on the inside of the dress:


I chose to have a cream material as it contrasted against the dark brown cotton. I then cut out two pieces of interfacing to add to the altered neckline, ironing it on to the wrong side of the cream cotton. After doing this I pinned the two bodices together with right sides together. The pins show where I have sewn on the sewing machine:


After doing this I have sewn on the other side of the sleeves, making sure to clip the curves after. This ensures that when I turn the material the right side out that the curves in the bodice will keep their intended shape.  


I then turned the bodice the right side out and pressed it thoroughly with the iron. I cut two small lines into the cream material so that I could turn it over to the inside of the dress, leaving a neat finish on the neckline. I did this by slip stitching the material, I also slip-stitched parts of the brown cotton to the cream material to make it more secure on the ribbon section of the bodice. 


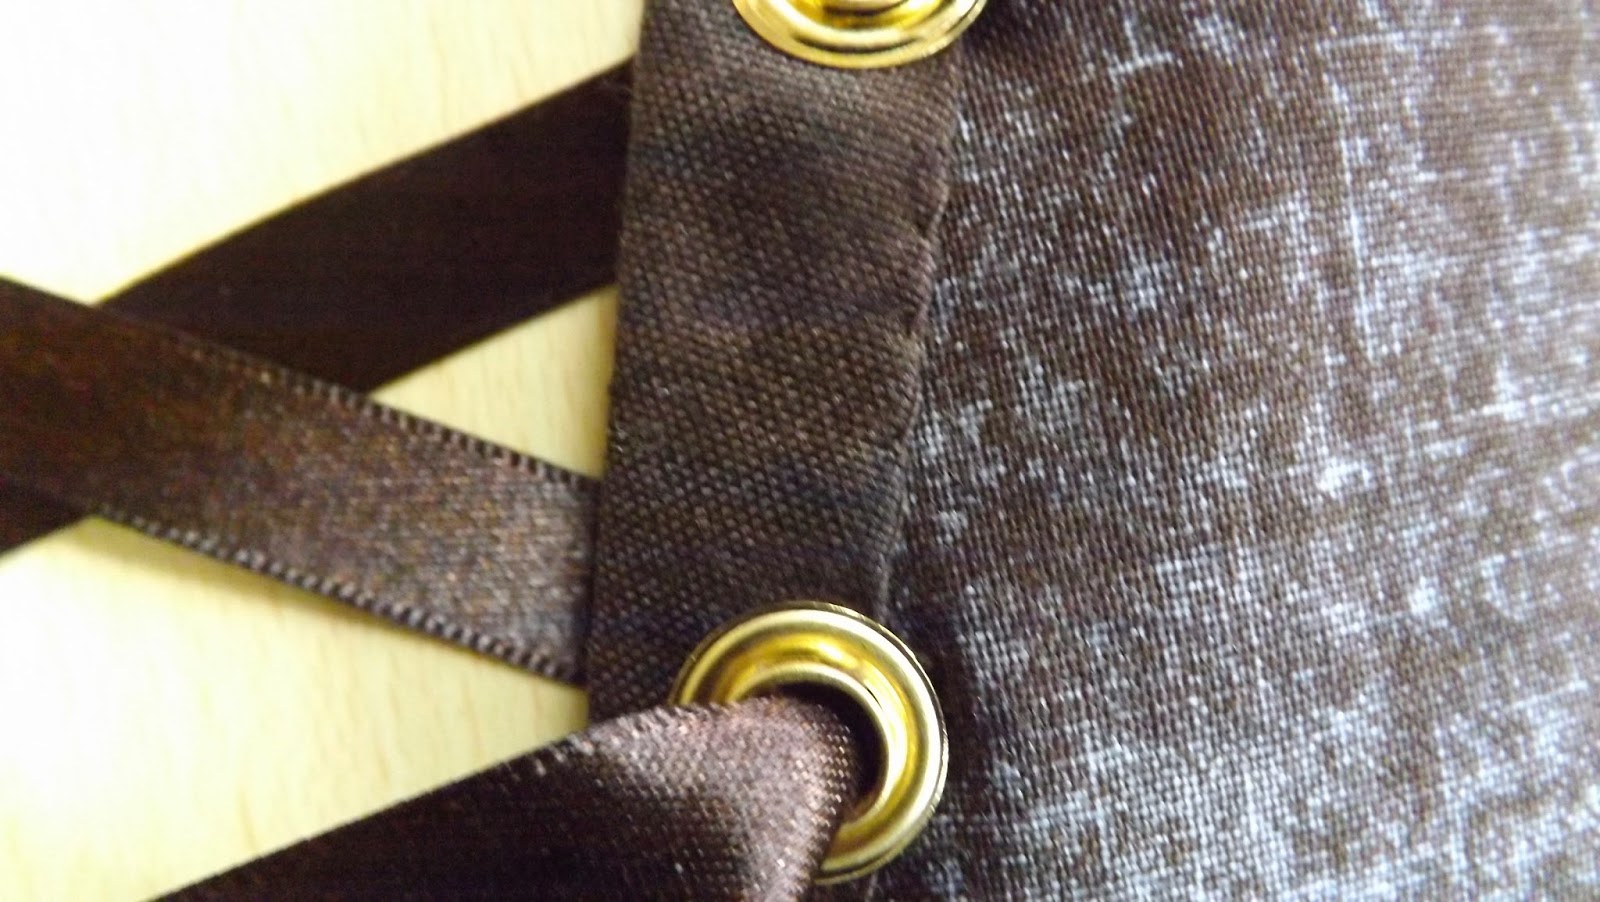
This is the finished effect of the bodice:


I will be back with more instructions when I have added the back panels to the front of the dress. 

Bye for now, 

Heather :) 


Sunday, 30 March 2014

Ripple Crochet Blanket

I thought I would tell you about a blanket that I am having a go at crocheting at the moment.  This is an ongoing project that I keep picking up between smaller projects.  This is my progress so far…


It is a ripple pattern and I am using chunky wool in grey, black and white.  This is a great project for a beginner and I have found it quite easy to tackle.  Here’s a closer look at the ripple pattern…


I have taken the pattern from “The Big Book of Crochet Afghans” which I was given as a Christmas present.  I love the blankets in this book and I am sure I will tackle most of them over time.


I am having a go at the “Rippling Tones of Autumn” afghan but have adapted somewhat.  Obviously I have changed the colours but there are, also, bobbles in the pattern but I decided not to include these and go for a straight ripple effect instead.
 
Bye for now

Von x

Saturday, 29 March 2014

Dressmaking- Part 1

I am making a dress with a corset style bodice; I have used a pattern to do this, I am then going to change parts of it to customise it into the dress I want. This is the pattern I am using:


The lovely dark brown cotton you'll see in the pictures was bought at the craft show last week, they had tonnes of gorgeous materials! I began my dress by sewing darts into the back panels:


After doing this, I moved onto the bodice of the dress. This is the finished effect of my customized neckline:


I did this by changing the bodice front piece in the pattern, I turned it into a v-neck like shape. To ensure I had a neat finish on the dress, I folded over the raw edges and slip-stitched on the back to make sure no stitching was visible on the right side of the bodice.


I then inserted six eyelets on each side of the v-neck style front. I used a 5mm gold eyelet kit to do this, all the instructions on how to insert the eyelets were included in the kit. I then threaded two long strips of dark brown ribbon through the eyelets, finishing the ribbon by slip-stitching it to the material on the wrong side.


I have sewn all ends of the ribbon to the wrong side of the bodice as I did not want a bow on the dress.


I will let you know about my progress when I have completed more!

Bye for now,

Heather :)


Thursday, 27 March 2014

Tote Bag

Ok still thinking about that paper sewing creation that I am going to attempt to make but in the meantime I decided to keep myself busy and make a tote bag.   Well a bigger bag is definitely needed for future crafting shopping trips!  Even though I do say so myself I am happy with the end result.  Sooo easy to make and I just know that it is going to be used lots of times!!   Thought I would post a photo and share the end result with you all.
Julie
x


Tuesday, 25 March 2014

Sewing with paper!!

Only a few days since we visited the Hobbycraft show at the NEC and already planning the next visit in November!!      Not too long to wait until you can add to your ever growing collection of ribbons eh Von.

After the fun (and laughter) creating the treasure books on the  Madeira workshop stand I feel inspired to have a go at doing some more sewing with paper ... not sure how it will turn out but nothing ventured nothing gained.     I will let you know if it turns out OK (otherwise I shall retain a dignified silence)  hehe ... watch this space!!!...........

Julie
x


Monday, 24 March 2014

The Hobbycraft and Sewing For Pleasure shows were on at the NEC this weekend, so it was our 'girl's day out' to devote ourselves totally to crafting paradise.  We have so much fun on these days out Mum, my sister Julie, my daughter Heather and myself and we definitely come back much lighter in the purse!

This was just my shopping haul!


Of course, as soon as I got home the bags were emptied for me to fully admire!
 
 
I got lots of fabric, ribbon and some thread for crocheting.   I will share my makes as we go.  I have lots of plans whizzing through my little grey cells!  This was my favourite buy....
 
 
I must confess, loved the fabric design but no plan as yet for what I will make from it.  Any ideas are welcome! 
 
I must finish by showing you the little 'treasure books' we made during a workshop on the Madeira stand.
 
Love a craft shopping binge! 
 
Bye for now
 
Von x