Saturday, 26 April 2014

Caravanning at Chatsworth

Hi,
I hope you have all had a great Easter break!  We took our caravan and went to stay at Chatsworth in Derbyshire for a few days over the holiday and we had a great time.
The Caravan Club site is tucked away in an old walled garden and you are given a key to enter the park through a gateway in the wall.  This is the view as you walk through the gate...
Then you just stroll along the pathway and gradually Chatsworth House emerges...
 
The weather was kind to us while we were away and it was magical walking through the park especially in the evening when all the day visitors had left.

 
We spent an afternoon walking round the gardens of the house.  It was glorious weather and it was really busy.  Everyone was taking advantage of the warm sun especially around "The Cascade" which is the most fantastic waterfall.  Children were enjoying having a paddle in the water.
 
This caught our attention, hidden away behind The Cascade.  It was a water powered metal structure in the shape of a flower that opened up every few minutes.
 
There were signs of Spring everywhere throughout the garden and we stumbled across this beautiful display of daffodils.
 
 We love nothing more than holidaying in our caravan and it's great all the places we get to visit. 
 
 
This holiday gave me an idea to keep me busy crafting over the holiday period and I went about making myself a caravan themed doorstop.  I decided to try and incorporate some of the different fabrics I had bought at the NEC in March.  This my finished caravan doorstop.  What do you think?

 
I would like to have another go at making some doorstops but will definitely make the next one a little smaller than my caravan!  Any ideas for themes?
 
Bye for now
 
Von x
 

Wednesday, 23 April 2014

Flower hair band - tutorial

This tutorial is a great way to make use of any spare pieces of material that you may have left over from other projects and by changing the size of the petal template and felt circles that you use you can make flowers of different sizes.    By using different patterned materials you can make some beautiful hair accessories, much nicer than you can buy in the shops and much cheaper as well !!     


What you will need:
Patterned fabric – for petal shape
Piece of felt – to cut 2 circles
Glue gun
Hair band
Bead for the middle of the flower – optional


Step 1   Using a petal template cut out 10 petal shapes from your patterned fabric and cut out 2 small circles from your felt (see photo above)


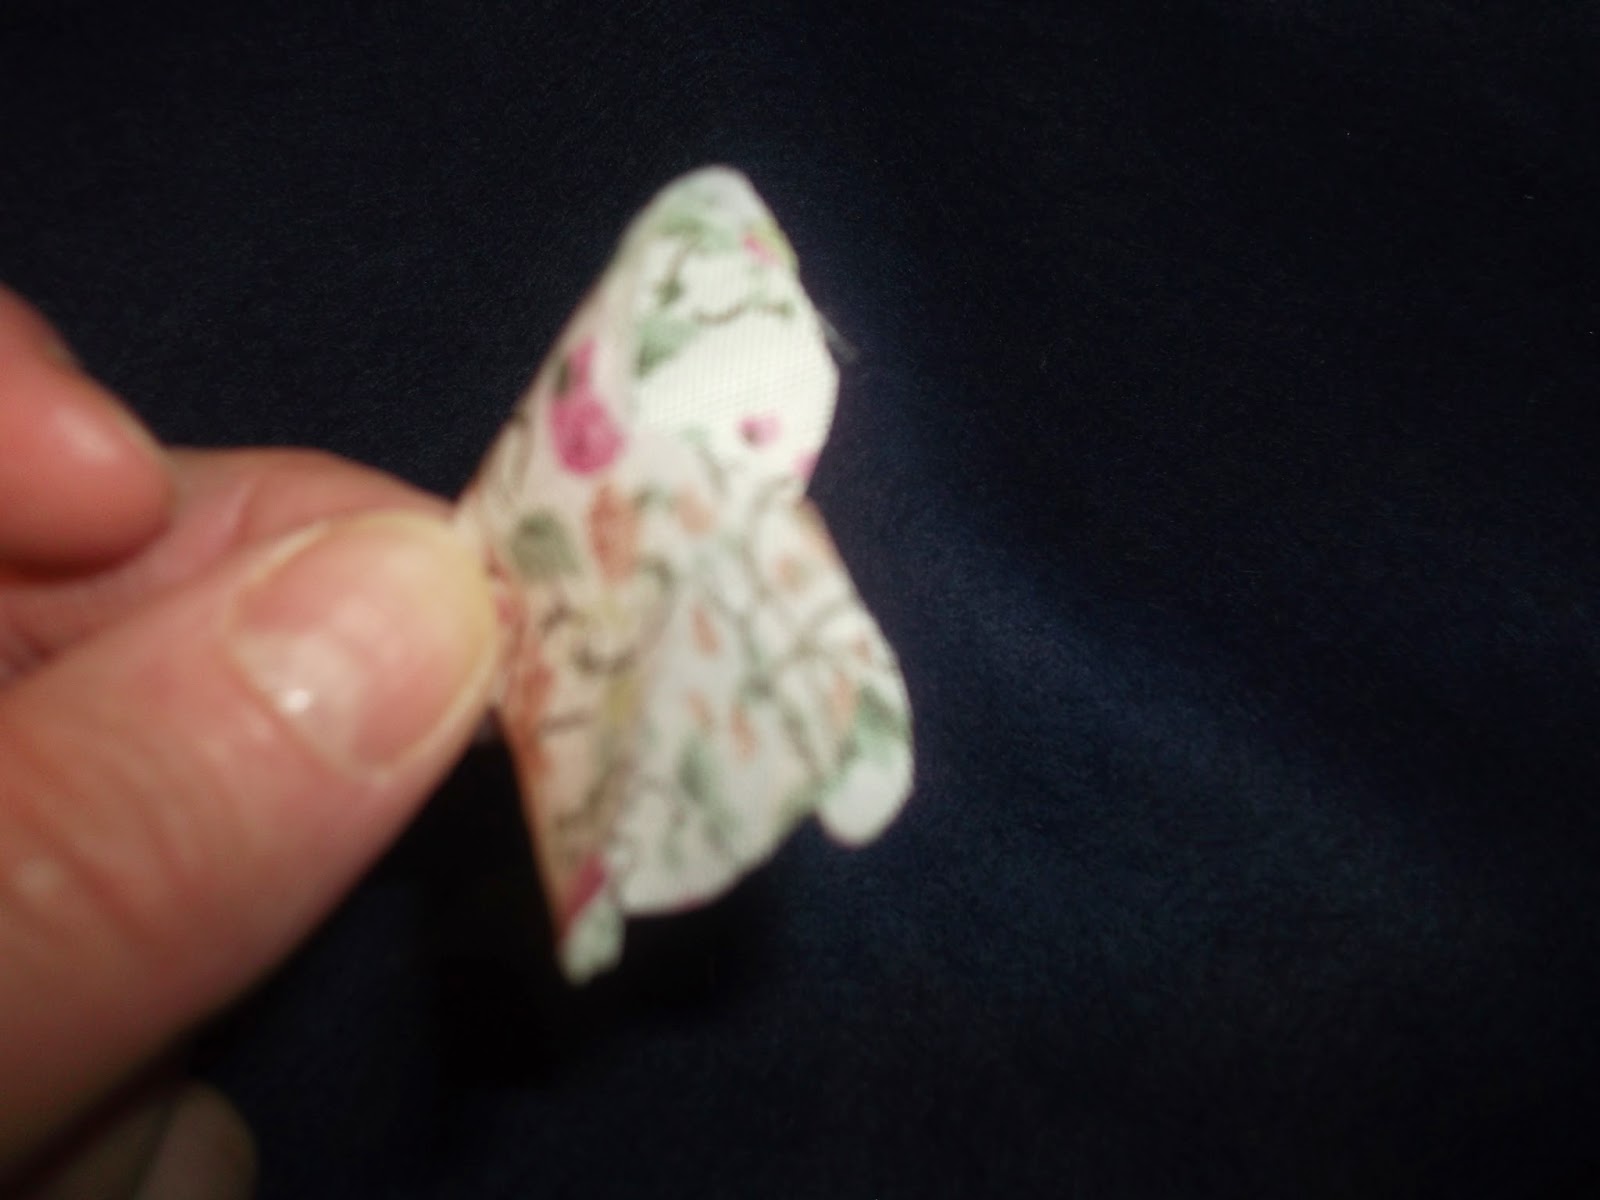
Step 2   As shown  above fold one of your petal shapes in half and half again. Secure with glue at the base of the petal to secure.  Repeat this with the other 9 petals.


Step 3    Place the first 4 folded petals around on the felt circle so that the tip of each petal is in the centre of the circle.  Secure each petal with glue.


Step 4    Next place another 4 of the folded petals on top of the first 4 petals and secure with glue  (I have folded over the template in the photo above as an example (the template shows up much better for the purpose of the photo)


Step 5    Place the last 2 folded petals on top (in the centre) and secure with glue.   Place a bead in the centre of the flower if you wish to use (optional)

 
Step 6   Finally glue the hair band on to the back of the circle of felt that has the flower petals attached to it and place the other felt circle over the top to finish.


Julie
x


2.    
 
 
3.        
 
 
4.       
 
 
5.        


Saturday, 19 April 2014

Ribbon Flower

I thought I would have a little play around with some of the ribbon I had bought from the NEC Hobbycrafts show in March.  So I opted to make a flower with it.  I began by folding over the end and glued it in place with my glue gun.  Then I folded the end in to a triangle shape to create the centre of the flower.
 

Then I rolled the ribbon around this folding the edges and twisting it to shape as I built it up.  I secured each fold using the glue gun dabbing small amounts of glue at a time. 
When I felt I had got it to the size I wanted I cut the ribbon so I had a small amount hanging.  I applied some glue to the back of the flower and lay the ribbon across it.  Then trimmed the remaining ribbon to tidy the completed ribbon. 
 
 
Have a go! 

Bye for now!

Von x

Monday, 14 April 2014

Trouble!

Remember the crochet basket I had made!  I had decided this would be my blanket basket for my current crochet project. 

This is what I discovered yesterday!


What a naughty dog!  She loves fabric and anything soft and will regularly 'dig' at them to make herself a comfy bed.   Mind I don't think it quite turned out the way she had planned this time!
Looks like I am going to have to have a 'unravelling' session before I carry on with that blanket!

Bye for now

Von x

Saturday, 12 April 2014

Felt Flower Tutorial


I love these felt flowers and have made them in varying colours.  Add a brooch pin on the back and they make great brooches.  They are so easy to make and I thought I would share with you how to create your own.  You just need a length of felt, scissors, thread, needle and a glue gun.

Step 1.  Cut 1 large circle(approx. 3" diameter), 15 large petal shapes, 3 small petal shapes and 1 scallop shape.

 
Step 2. Cut the large petal shapes in half. 
 
Step 3. Use the glue gun and dab a small amount of glue at the end and pinch together.  Hold until the glue has set.  Then add another dab of glue on back of the petal and attach to the edge of the circle.


Step 4.  Continue adding petals around the edge of the circle, as below.
 
Step 5. Continue adding the large petals overlapping those on the outer edge of the felt circle as below.

 
Step 6.  Repeat with a further layer so you have 3 layers of the large petals.
Step 7. Use the smaller petals and cut them in half.  Pinch the small petals and using the needle and thread sew the ends together.
 
Step 8. Use the glue gun and glue the smaller petals in the centre of the flower.

 
Step 9. Cut the scallop shape in a swirl as below.
 
Step 10.  Start with outer edge roll the felt to create a bud, dabbing with glue as you go to secure in place.
 
Step 11. Glue the bud in to the centre of the flower to complete.
 
These are great to accessorise outfits.  You could add a brooch pin and wear on a jacket, embellish a hat or liven up a bag. 
 
Have fun creating!
 
Bye for now
 
Von x


Sunday, 6 April 2014

How to make a drinks coaster - tutorial


Having struggled to find any nice drinks coasters that would add a nice homely feel  I decided that I would make some!   These coasters have proved to be a practical way of protecting the furniture but also have the added benefit of creating a lovely personal touch to your home.   The finished coasters almost look too good to use (and I admit that was tempted not to but then what would be the point in that!!)  Anyway rest assured that  I have put mine in the washing machine to freshen them up and they have washed really well and look as good as new.

I hope you have fun making your own coasters by following the tutorial below.   Remember that you can change the template shape for anything that you like.  In this tutorial I have used a heart shape.

If you do follow the tutorial please let us know how you get on by leaving a comment on this blog.  We would love to see a picture of your finished coasters. 
Julie
x


What you will need:Linen – 14cm by 14cm
patterned fabric – to use to cut out heart template
Wadding – 14cm by 14cm
Heat n Bond


Step one
Cut out 2 pieces of linen fabric 14cm by 14cm.  I used my rotary cutter, self healing board and ruler as I find this gives the best results for cutting straight lines but you can use  scissors if you haven’t got these tools.
You will also need to cut out a piece of wadding measuring the same size (be careful not to cut this too small!  It is better to cut it slightly to big and trim it down later if you need to)


Step Two
Cut a piece of  Heat n bond just slightly bigger than you want your heart to be and iron (shiny side onto the wrong side of the material) on to one of the pieces of linen.
 
Step Three
Draw a heart shape onto the back of the heat n bond to provide a template,  then cut around the template and attached material to cut out the  heart template
Step FourOnce you have cut out the template remove the heat n bond paper from the back of the heart shape (it will leave a shiny residue on the back of the material) and iron onto the centre of one of your pieces of linen fabric.     The heart shaped material should now be secured to your linen fabric.
 
Step Five
Select a close zig zag stitch on your sewing machine and sew around the heart shape to secure to your fabric
.
Step Six
Then place the 3 pieces of material on top of each other.   The  piece of linen with the heart on it should be placed at the front (right side facing up) then the other piece of linen on top and the piece of wadding on top of that.  Secure with pins and sew around the edge of the coaster with a straight stitch, leaving approx 3cm unsewn to enable you to turn the coaster inside out.

Step SevenSnip of the corners of the coaster before turning inside out and hand sewing the open seam.  This will make the corners of the finished coaster look nice and square.

 
Step Eight

To finish (optional) sew around the outside of the coaster with a straight stitch to edge it


Thursday, 3 April 2014

Crochet Basket Tutorial


I was finding my blanket making materials were over spilling my knitting bag and wanted to make my own basket.  When I was at the Hobbycrafts show at the NEC I bought some hooplayarn www.hooplayarn.com  from a super crochet stall.

It took a bit of thinking time and playing around with the yarn until I got to grips with my own pattern to create the basket.

I used a 8mm size crochet hook and you will need two rolls of hooplayarn.

1. Chain 6 and join with a slip stitch to create a foundation ring.

2, 1 Single crochet in to each chain, then join with a slip stitch.

3. 2 single crochet in each stitch , then join with a slip stitch.
4. Chain 3, then 2 double crochet in each stitch around and join with a slip stitch.

5. Repeat step 4 twice.
6. Chain 3, then 2 double crochet in stitch, then 1 double crochet in the next.  Repeat this for the round and then join with a slip stitch.

7. Place a marker in last loop at the start of the round.  1 Single crochet in each stitch around to marker.
8. Repeat for a further 13 rounds.  Then join with a slip stitch and thread ends through loops to neaten for finish.


You could add or decrease the number of single crochet rounds depending on your preferred height for your finished basket.  This height worked perfectly for me to stash my current blanket project and wool.

Bye for now

Von x