Sunday, 4 May 2014

Want some s'more?

Hi there,

Hope you are all enjoying your bank holiday weekend here in the UK.  We got together for my nephew's birthday yesterday and had a fabulous barbeque at my sister's house.  We even got Mum and Dad playing volleyball with the children!

The highlight of the afternoon was when the marshmallows were brought out!  There we were happily beginning to toast our marshmallow when...
 
Our brother's girlfriend said you want to make them in to s'mores. She went on to say get some chocolate digestives and sandwich the marshmallow between them.  Well, I have never seen my sister move so fast that she appeared with a packet of chocolate digestives before you could say "barbeque!"  What a perfect end to a barbeque we indulged in the sticky mess and wondered why we had never done this before!
 
Yum! Definitely will do some "s'more" of this! (see what I did there! Lol!) Hope you have all had a great weekend.
Bye for now
Von x
  

Dressmaking- Part 3

I have now finished the top half of my dress completely by adding interfacing to the neckline area on the back panels of the dress. 


After doing this I placed the back panel, right sides together, to the lining of my dress. I decided to use the same fabric as the outer material for the lining:


I have sewn where the pins are placed in the pictures above and clipped the curves:


After doing this I turned the panels the right side out and pressed the seams to give a neat finish:


I lined the notches on the back panel sleeves to the notches on the front panel sleeves. Next, I pinned the linings and the material pieces together separately and have sewn them, making sure to press the sleeves after. 


I have then sewn the side panels on the front of my bodice to the side panels on the back of my dress:


This is the completed design of the top half of my dress:


Working on the skirt next, I will let you know how I get on when it is done. 

Bye for now, 
Heather :) 


Friday, 2 May 2014

Shark Cake

                                                                                                            
It is my little boys birthday this bank holiday weekend and his request for a party cake this year was for it to be based on a shark theme, so the last couple of nights after the children have gone to bed I have set about the task of creating the cake!     This cake was constructed from the book featured below called “Gorgeous & Gruesome cakes for children”  by Debbie Brown although I did change it slightly to add a model of my son swimming and waving in front of the shark.
 
 
If you fancy having a go at cake modelling then this is a book that I would  highly recommend.  The cake models are straight forward to follow, even for a beginner, and my reward for two nights of cake modelling was more than rewarded when my son saw his cake.
 
Looking forward to a nice bank holiday weekend. 


Julie
x

Tuesday, 29 April 2014

Phone Cover

The Easter holidays have been and gone far too quickly!  We were also lucky to get away over the holidays with a visit to Centre Parcs in Nottinghamshire.   We had lots of fun rock climbing, abseiling, archery and laser shooting as well as spending lots of time on our bikes and in the swimming pool.  If you like the outdoors and sports activities then I would totally recommend that you visit.        The animals around the forest were very tame.  I guess they are used to people being around but we had to laugh when two ducks came and used their beaks to knock on the window of the accommodation that we were staying in ... here is a picture of the cheeky chaps  on the hunt for food! .... well I guess if you don't ask you don't get!!
 
Oh well back to the reality of the normal weekly routine this week with the children going back to school (lots of groans and moans on Monday morning but all happy enough this morning)
This week my crafting project was a phone cover in preparation for the summer when in an attempt to tire out two young lively children we will embark on lots more days out and as usual my phone will be buried deep at the bottom of the picnic rugsack so hopefully a well padded phone cover will help to protect it and add a nice touch.........  Pretty pleased with the end result.....


Julie
x
 

Saturday, 26 April 2014

Caravanning at Chatsworth

Hi,
I hope you have all had a great Easter break!  We took our caravan and went to stay at Chatsworth in Derbyshire for a few days over the holiday and we had a great time.
The Caravan Club site is tucked away in an old walled garden and you are given a key to enter the park through a gateway in the wall.  This is the view as you walk through the gate...
Then you just stroll along the pathway and gradually Chatsworth House emerges...
 
The weather was kind to us while we were away and it was magical walking through the park especially in the evening when all the day visitors had left.

 
We spent an afternoon walking round the gardens of the house.  It was glorious weather and it was really busy.  Everyone was taking advantage of the warm sun especially around "The Cascade" which is the most fantastic waterfall.  Children were enjoying having a paddle in the water.
 
This caught our attention, hidden away behind The Cascade.  It was a water powered metal structure in the shape of a flower that opened up every few minutes.
 
There were signs of Spring everywhere throughout the garden and we stumbled across this beautiful display of daffodils.
 
 We love nothing more than holidaying in our caravan and it's great all the places we get to visit. 
 
 
This holiday gave me an idea to keep me busy crafting over the holiday period and I went about making myself a caravan themed doorstop.  I decided to try and incorporate some of the different fabrics I had bought at the NEC in March.  This my finished caravan doorstop.  What do you think?

 
I would like to have another go at making some doorstops but will definitely make the next one a little smaller than my caravan!  Any ideas for themes?
 
Bye for now
 
Von x
 

Wednesday, 23 April 2014

Flower hair band - tutorial

This tutorial is a great way to make use of any spare pieces of material that you may have left over from other projects and by changing the size of the petal template and felt circles that you use you can make flowers of different sizes.    By using different patterned materials you can make some beautiful hair accessories, much nicer than you can buy in the shops and much cheaper as well !!     


What you will need:
Patterned fabric – for petal shape
Piece of felt – to cut 2 circles
Glue gun
Hair band
Bead for the middle of the flower – optional


Step 1   Using a petal template cut out 10 petal shapes from your patterned fabric and cut out 2 small circles from your felt (see photo above)


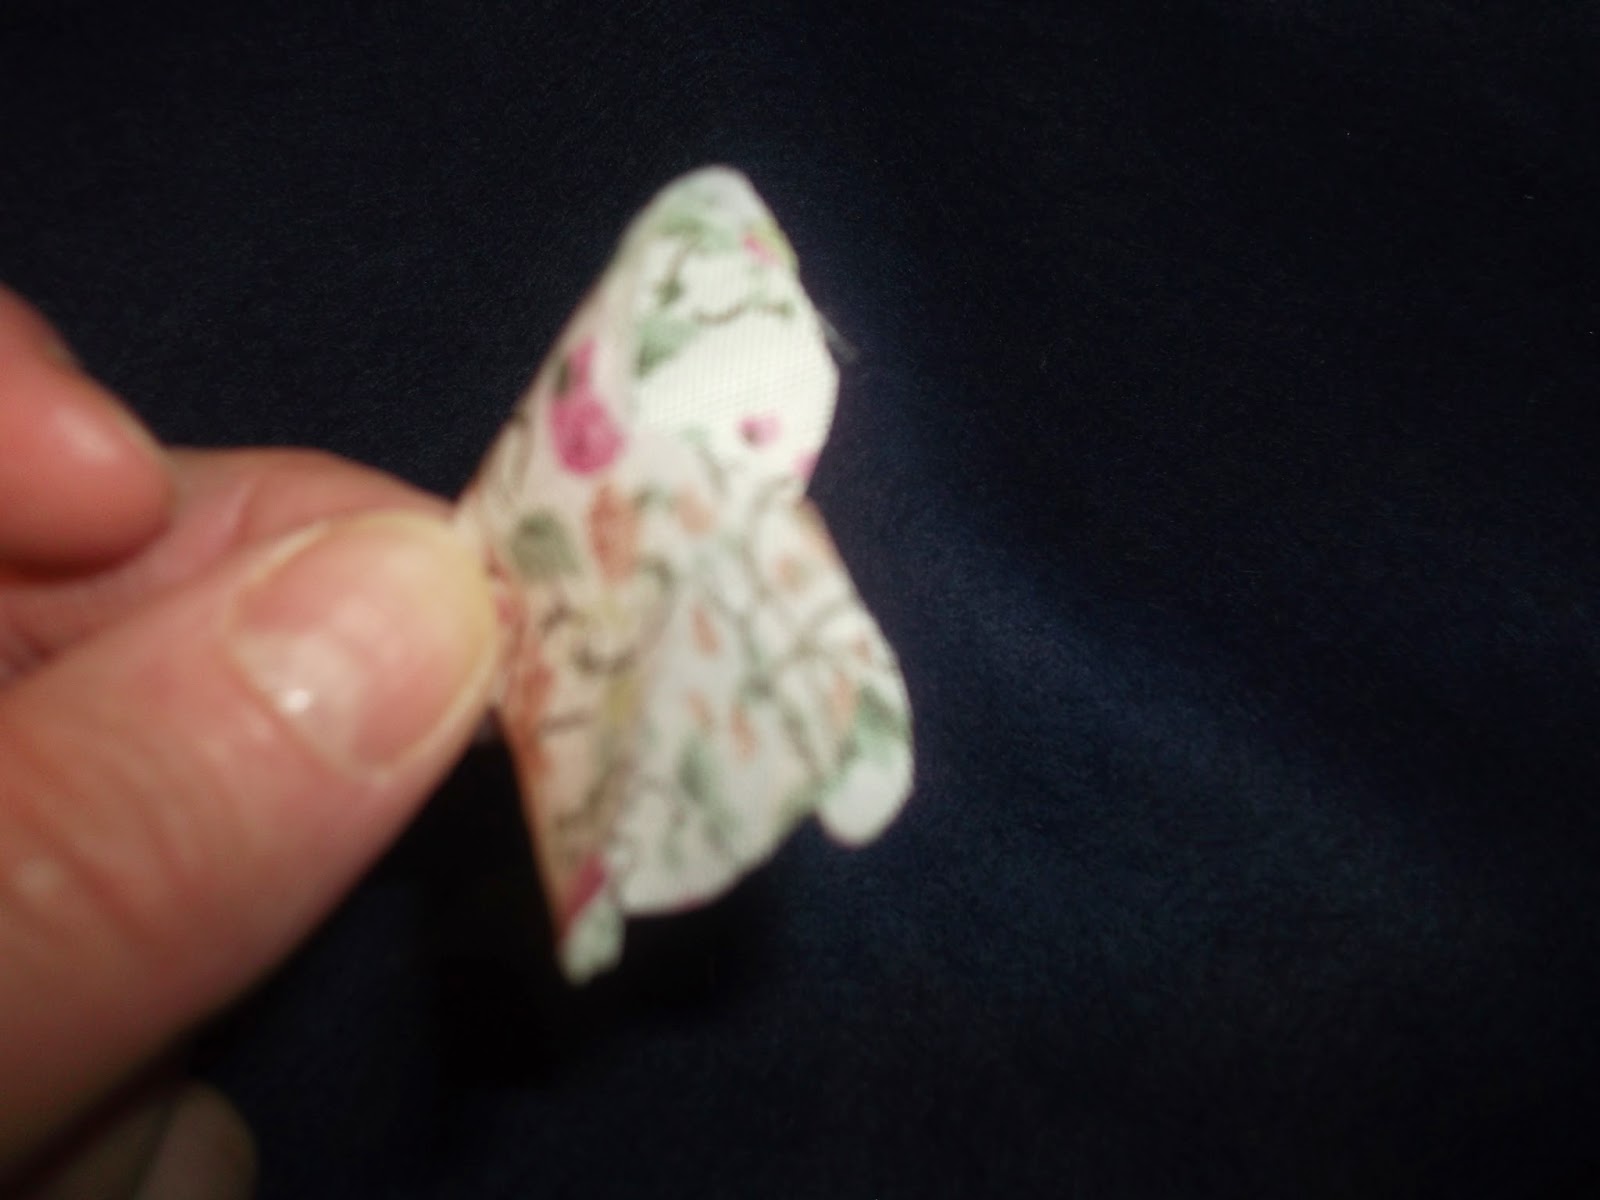
Step 2   As shown  above fold one of your petal shapes in half and half again. Secure with glue at the base of the petal to secure.  Repeat this with the other 9 petals.


Step 3    Place the first 4 folded petals around on the felt circle so that the tip of each petal is in the centre of the circle.  Secure each petal with glue.


Step 4    Next place another 4 of the folded petals on top of the first 4 petals and secure with glue  (I have folded over the template in the photo above as an example (the template shows up much better for the purpose of the photo)


Step 5    Place the last 2 folded petals on top (in the centre) and secure with glue.   Place a bead in the centre of the flower if you wish to use (optional)

 
Step 6   Finally glue the hair band on to the back of the circle of felt that has the flower petals attached to it and place the other felt circle over the top to finish.


Julie
x


2.    
 
 
3.        
 
 
4.       
 
 
5.        


Saturday, 19 April 2014

Ribbon Flower

I thought I would have a little play around with some of the ribbon I had bought from the NEC Hobbycrafts show in March.  So I opted to make a flower with it.  I began by folding over the end and glued it in place with my glue gun.  Then I folded the end in to a triangle shape to create the centre of the flower.
 

Then I rolled the ribbon around this folding the edges and twisting it to shape as I built it up.  I secured each fold using the glue gun dabbing small amounts of glue at a time. 
When I felt I had got it to the size I wanted I cut the ribbon so I had a small amount hanging.  I applied some glue to the back of the flower and lay the ribbon across it.  Then trimmed the remaining ribbon to tidy the completed ribbon. 
 
 
Have a go! 

Bye for now!

Von x